The timeline for solar panel installation can vary depending on several factors, including the size of the system, the complexity of the installation, and the permitting process. Here’s a detailed breakdown of what you can expect from start to finish:
1. Initial Consultation and Site Assessment (1-2 Weeks)
Initial Consultation:
- During the initial consultation, a solar provider will discuss your energy needs, evaluate your property, and provide an estimate for the project.
- This step involves understanding your electricity usage, reviewing past utility bills, and discussing your goals for the solar installation.
Site Assessment:
- A site assessment is conducted to evaluate the suitability of your property for solar panels.
- The technician will inspect the roof or other installation areas, measure available space, assess the roof’s condition, and check for shading issues.
- This assessment helps in designing an optimal solar system that maximizes energy production.
2. System Design and Proposal (1-2 Weeks)
System Design:
- Based on the site assessment, the solar provider will design a system tailored to your property’s specifications.
- This includes determining the number of panels, their placement, and the type of inverters and other components.
Proposal and Contract:
- The solar provider will present a detailed proposal outlining the system design, costs, expected energy savings, and return on investment.
- Once you approve the proposal, you will sign a contract to move forward with the installation.
3. Permitting and Approvals (2-6 Weeks)
Permitting Process:
- Obtaining the necessary permits from local authorities is a crucial step in the installation process. This includes building permits and electrical permits.
- The solar provider typically handles the paperwork, but the timeline can vary depending on the local permitting office’s efficiency.
Homeowners Association (HOA) Approval:
- If you live in a community governed by an HOA, you may need their approval before installation.
- This process can add additional time, so it’s essential to start early.
4. Ordering Equipment (1-2 Weeks)
Equipment Procurement:
- Once the permits are secured, the solar provider will order the necessary equipment for your system, including solar panels, inverters, mounting hardware, and any other components.
- The timeline for receiving equipment can vary depending on the manufacturer and supply chain factors.
5. Installation (1-3 Days)
Preparation:
- On the scheduled installation day, the installation team will arrive to set up the workspace and ensure safety protocols are in place.
- This may involve setting up scaffolding or other safety equipment.
Mounting and Wiring:
- The team will install the mounting system on your roof or other installation sites. This step involves securing the mounts to the roof structure.
- Next, the solar panels are placed and secured onto the mounts. The team will then connect the panels to the inverters and run wiring to your electrical panel.
System Integration:
- The system is integrated with your existing electrical system, and any necessary meters or monitoring systems are installed.
- The installation team will test the system to ensure it’s functioning correctly and efficiently.
6. Inspection and Interconnection (1-4 Weeks)
Inspection:
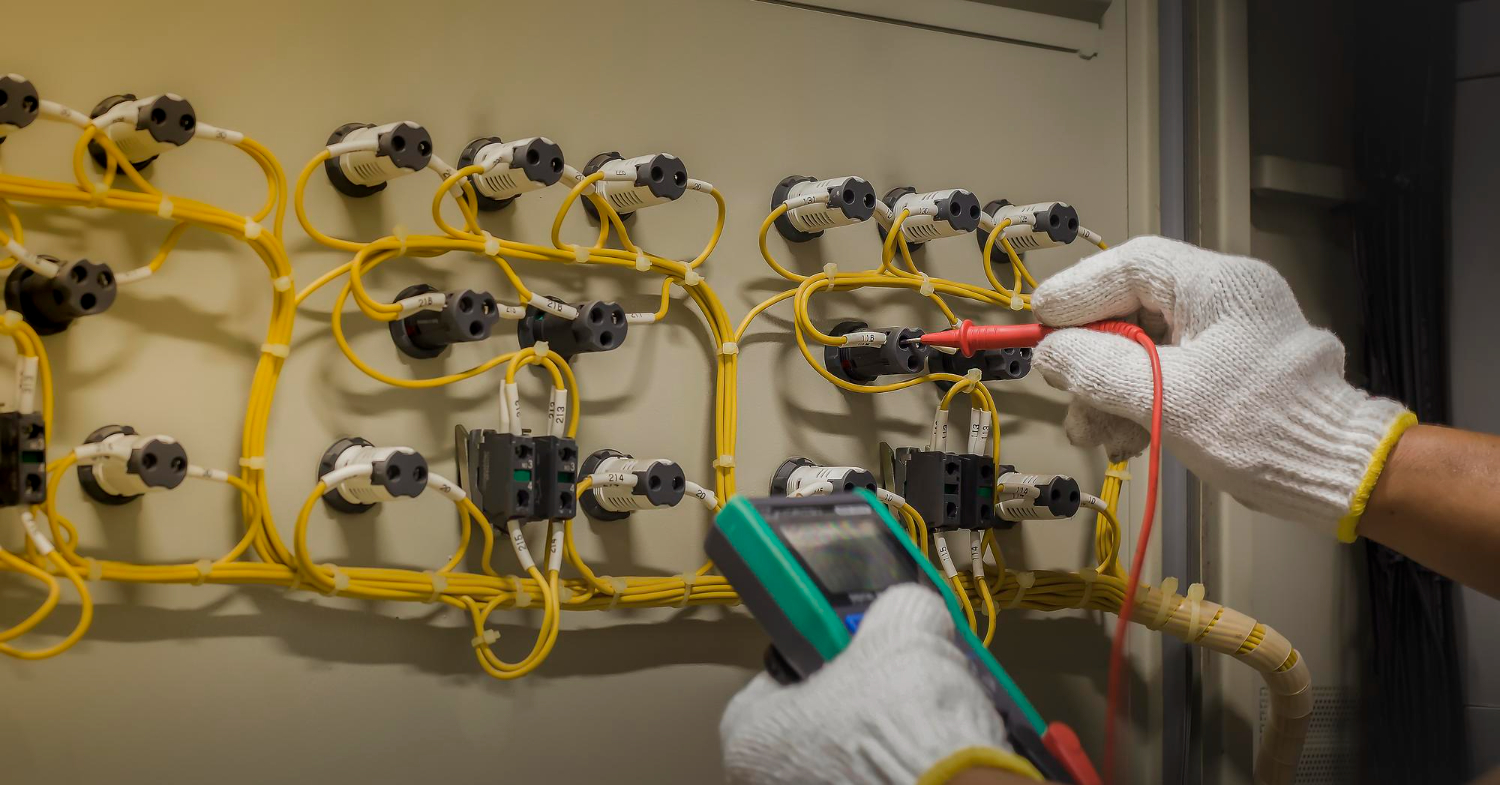
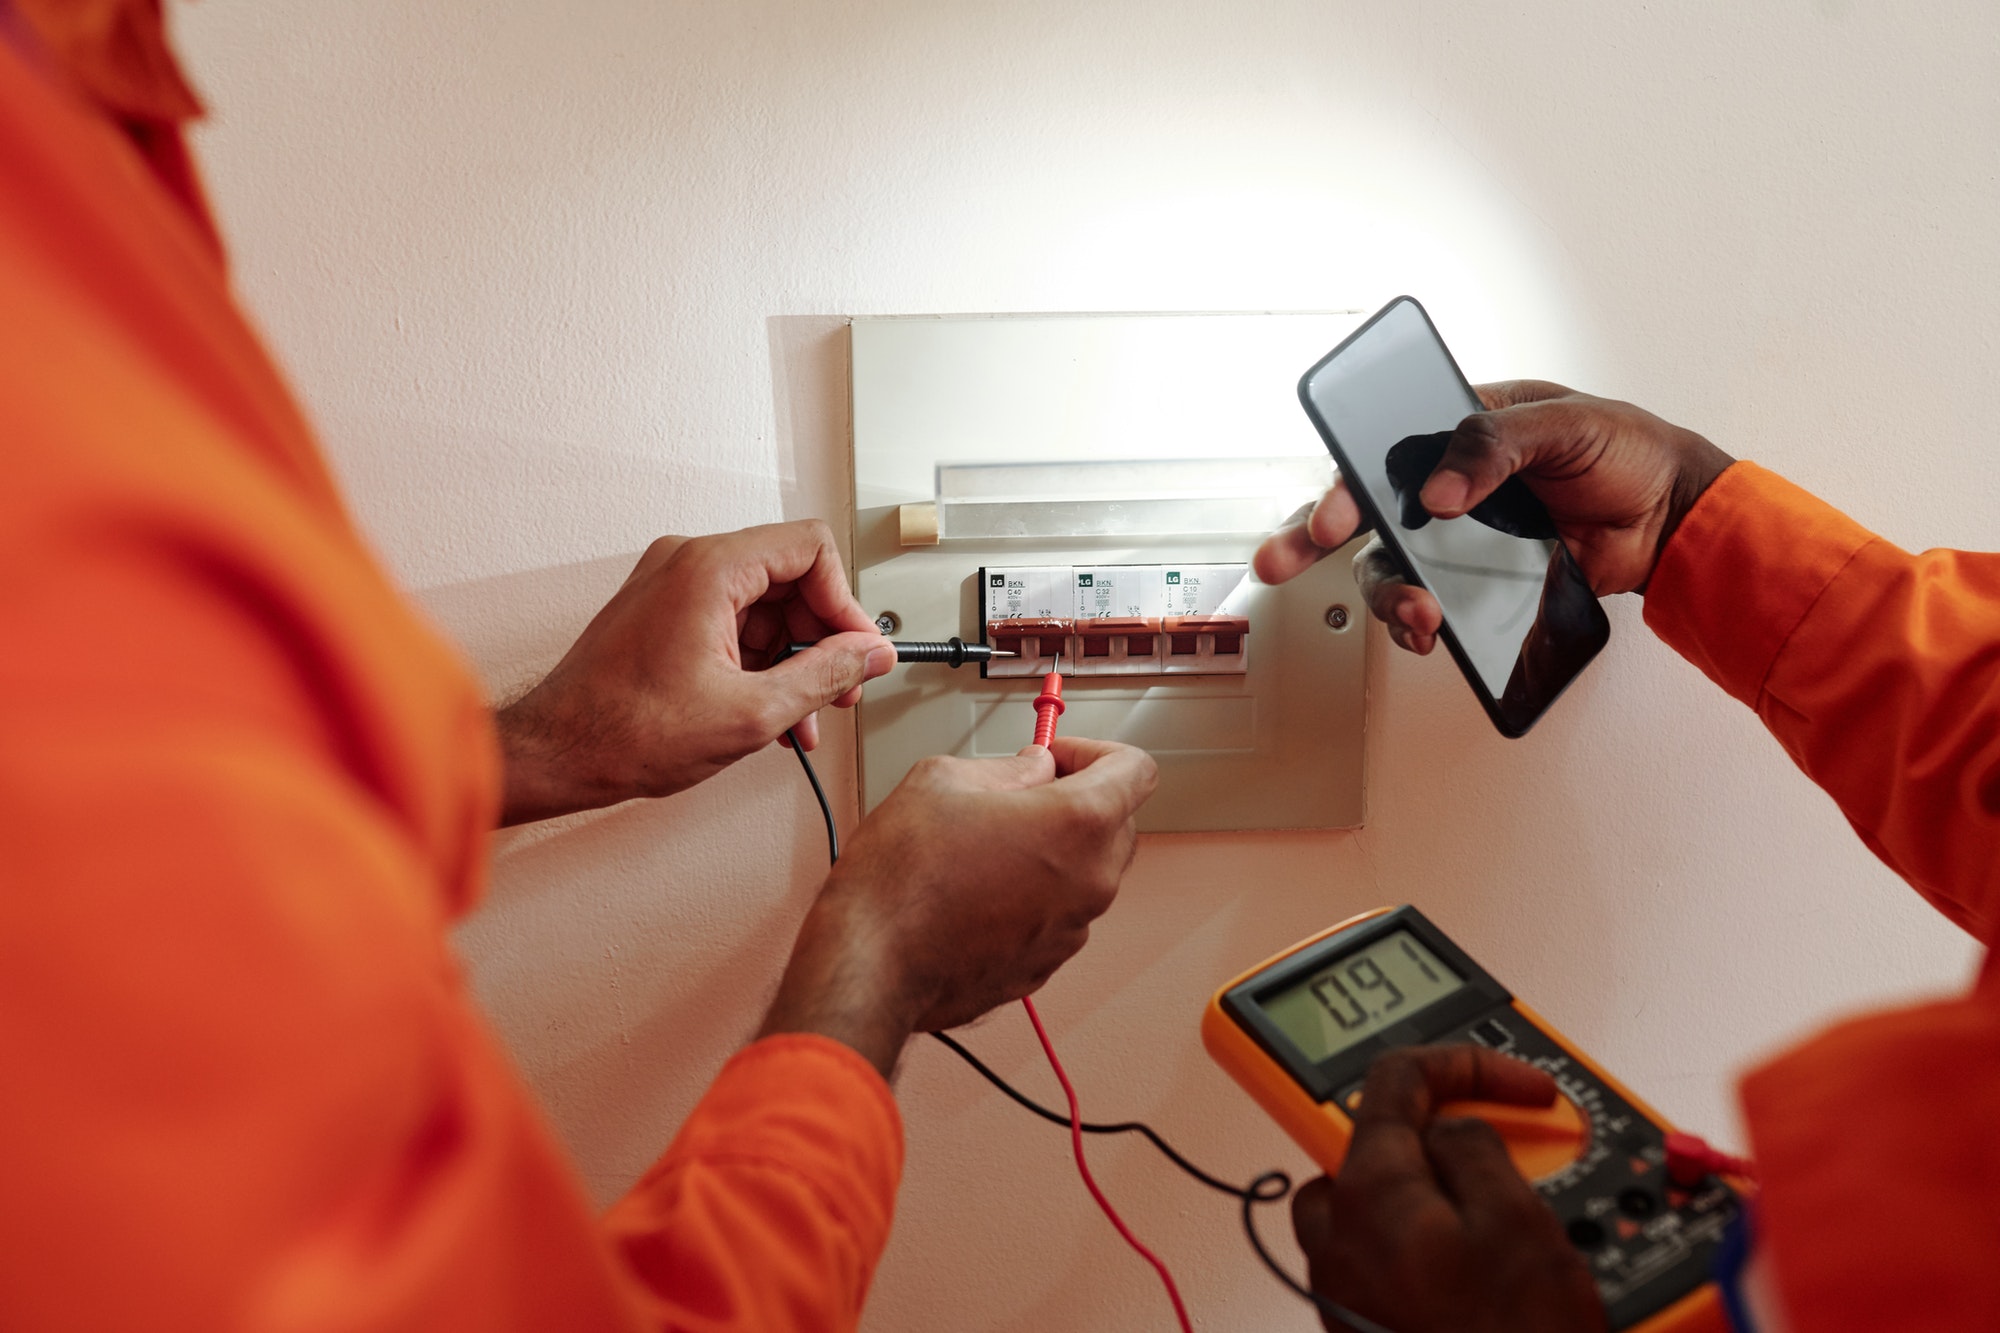
- After the installation is complete, a local building or electrical inspector will need to inspect the system to ensure it meets all codes and standards.
- The inspection process can vary in duration depending on the local authority’s schedule.
Utility Interconnection:
- Once the system passes inspection, it needs to be interconnected with the utility grid. This step involves coordinating with your utility company to install a bi-directional meter and approve the system for grid connection.
- The utility company’s timeline for this step can vary, but it typically takes a few weeks.
7. System Activation and Monitoring (1-2 Days)
System Activation:
- After receiving approval from the utility company, the solar provider will activate your system.
- You’ll be given instructions on how to monitor and operate your solar system.
Training and Support:
- The solar provider will offer training on using the monitoring system and understanding your new energy setup.
- You’ll receive contact information for ongoing support and maintenance.
Conclusion
The entire process of installing solar panels typically takes between 2 to 3 months from the initial consultation to system activation. This timeline can vary based on factors such as the efficiency of the permitting process, equipment availability, and coordination with local utilities. By understanding each step in the process, you can better prepare and ensure a smooth installation experience, ultimately leading to a more sustainable and cost-effective energy solution for your property.


