Installing and repairing light switches and dimmer switches can be a straightforward task, but it involves working with electricity, which can be dangerous if not handled properly. Prioritizing safety is crucial to prevent accidents and ensure a successful installation or repair. Here are some essential tips for homeowners to follow when working with light switches and dimmer switches.
Pre-Installation and Repair Preparations
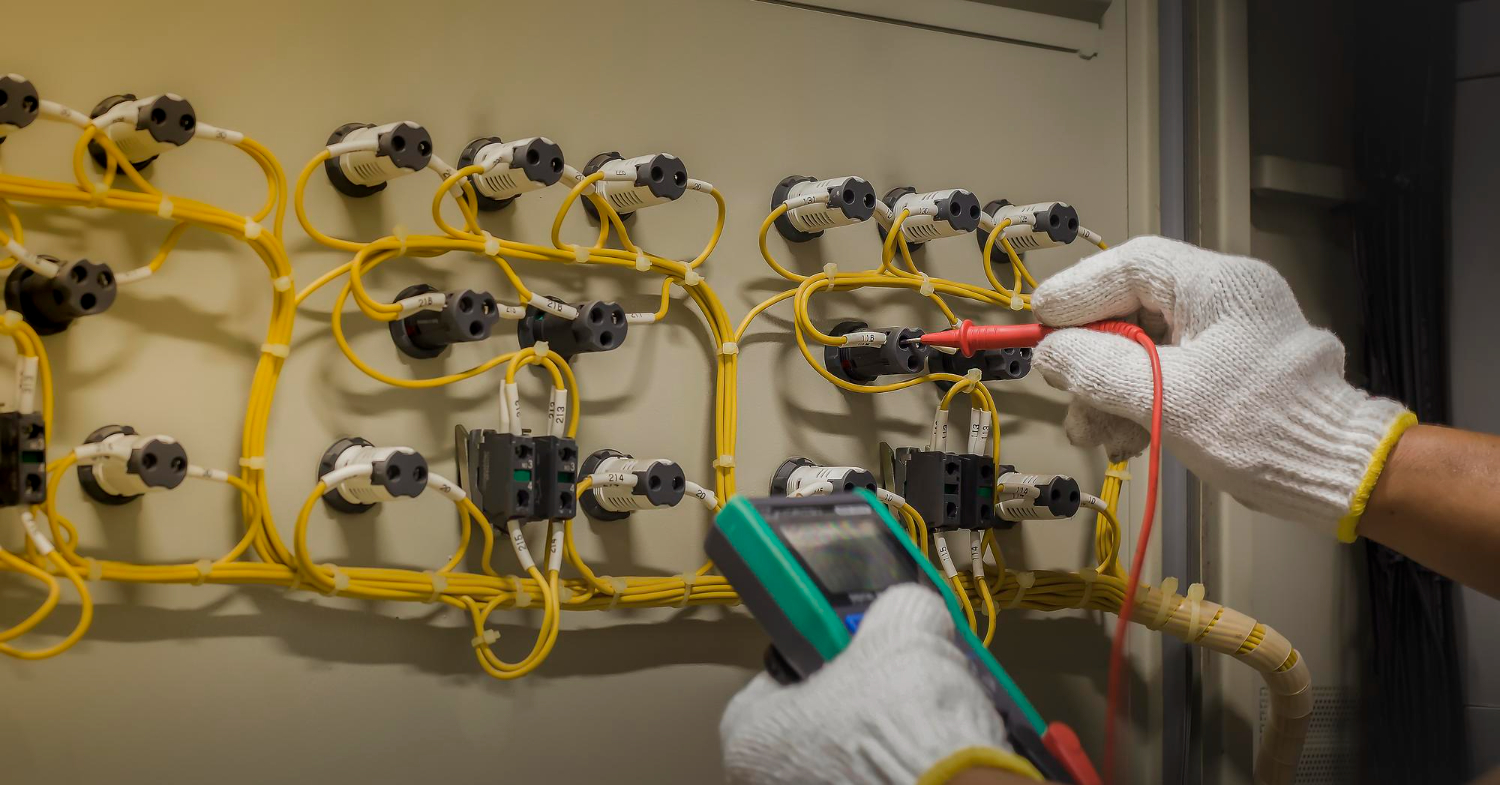
- Turn Off the Power
- Before starting any electrical work, turn off the power at the circuit breaker. This step is crucial to prevent electrical shocks or injuries. Verify that the power is off by using a voltage tester on the switch or outlet you will be working on.
- Gather the Right Tools and Materials
- Ensure you have the necessary tools, such as screwdrivers, wire strippers, a voltage tester, and pliers. Having the right tools on hand will make the installation or repair process smoother and safer.
- Read the Instructions
- Carefully read the manufacturer’s instructions for the switch or dimmer you are installing or repairing. Each product may have specific requirements or steps that need to be followed.
Installing Light Switches and Dimmer Switches
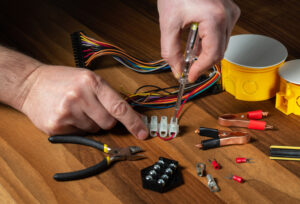
- Identify the Wires
- Familiarize yourself with the wiring in your switch box. Typically, you will encounter a hot wire (black), a neutral wire (white), and a ground wire (green or bare copper). Some setups may also include a traveler wire (red) for three-way switches.
- Connect the Wires Correctly
- Follow the manufacturer’s instructions to connect the wires to the new switch or dimmer. Usually, this involves connecting the hot wire to the appropriate terminal, the neutral wire to the neutral terminal (if applicable), and the ground wire to the ground terminal.
- Secure the Connections
- Ensure all wire connections are tight and secure. Loose connections can cause flickering lights or overheating, which can be a fire hazard. Use wire nuts to cover and secure the wire connections.
- Install the Switch or Dimmer
- Carefully tuck the wires back into the switch box and attach the switch or dimmer to the box using the provided screws. Ensure the switch is flush with the wall and securely fastened.
- Test the Installation
- Once everything is connected and secured, turn the power back on at the circuit breaker. Test the switch or dimmer to ensure it is functioning correctly. If the light does not turn on or dim properly, double-check the wiring connections.
Repairing Light Switches and Dimmer Switches
- Diagnose the Problem
- Identify the issue with the switch or dimmer, such as flickering lights, non-functioning switches, or buzzing sounds. This can help you determine if the problem is with the switch, the wiring, or the light fixture.
- Inspect the Wiring
- Turn off the power and remove the switch cover to inspect the wiring. Look for loose connections, frayed wires, or signs of damage. Tighten any loose connections and repair or replace damaged wires.
- Replace Faulty Components
- If the switch or dimmer itself is faulty, replace it with a new one. Follow the same steps as outlined in the installation section to ensure proper wiring and secure connections.
Additional Safety Tips
- Use Proper Lighting
- Ensure you have adequate lighting when working on electrical projects. A well-lit workspace reduces the risk of mistakes and accidents.
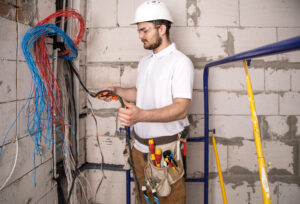
- Wear Protective Gear
- Wear safety glasses and insulated gloves to protect yourself from electrical shocks and debris. Rubber-soled shoes can provide additional insulation.
- Avoid Working in Wet Conditions
- Never work on electrical projects in wet or damp conditions. Water is a conductor of electricity and increases the risk of electrical shocks.
- Label the Breaker
- After turning off the power, label the circuit breaker with a note indicating that you are working on the circuit. This can prevent someone else from accidentally turning the power back on while you are working.
- Consult a Professional
- If you are unsure about any step in the installation or repair process, or if you encounter complex wiring issues, consult a licensed electrician. Professional assistance can ensure the job is done safely and correctly.
Conclusion
Installing and repairing light switches and dimmer switches can be a manageable DIY project with the right preparation and attention to safety. By following these tips and prioritizing safety, homeowners can successfully complete their electrical projects while minimizing the risk of accidents. Remember, when in doubt, always seek professional assistance to ensure a safe and reliable installation or repair.