Understanding the EV Charger Installation Process: What to Expect
Installing an EV charger can seem daunting, but understanding the steps involved can help you prepare and ensure a smooth process. Here’s what to expect during the EV charger installation process, whether for residential or commercial applications.
1. Initial Assessment and Planning
Site Assessment:
- A licensed electrician or installation professional will visit your property to evaluate the site.
- For residential installations, they will inspect your garage or driveway area.
- For commercial installations, they will assess the designated parking areas and overall electrical infrastructure.
Electrical Capacity Check:
- The electrician will check your electrical panel to ensure it can support the additional load of the EV charger.
- They will determine if any upgrades are necessary, such as a panel upgrade or the installation of a dedicated circuit.
Charger Selection:
- Based on your needs and the site assessment, you will choose the appropriate type and model of the EV charger.
- For residential use, this might be a Level 2 charger with smart features.
- For commercial use, it could be multiple Level 2 chargers or a Level 3 DC fast charger.
Permit Acquisition:
- The electrician will help you obtain the necessary permits required by local regulations for the installation.
- Ensuring compliance with local codes is crucial for a safe and legal installation.
2. Preparing for Installation
Scheduling:
- Once the assessment is complete and permits are obtained, you will schedule the installation date.
- Ensure you are available to provide access to the site and address any questions during the installation.
Site Preparation:
- Clear the installation area of any obstacles to provide easy access for the installers.
- For commercial installations, ensure that the designated parking spots are clearly marked and accessible.
3. Installation Process
Electrical Work:
- The electrician will install the necessary wiring and circuit breakers to support the EV charger.
- For a Level 2 charger, this involves running a 240-volt circuit from your electrical panel to the installation site.
- For a Level 3 charger, more extensive electrical work may be required, including potential upgrades to the electrical infrastructure.
Mounting the Charger:
- The charger will be mounted on the wall or a pedestal, depending on the location and model.
- For outdoor installations, weatherproofing measures will be taken to protect the charger from the elements.
Connecting the Charger:
- The charger will be connected to the new circuit, and all electrical connections will be securely made.
- The electrician will ensure that the charger is properly grounded to prevent electrical hazards.
System Testing:
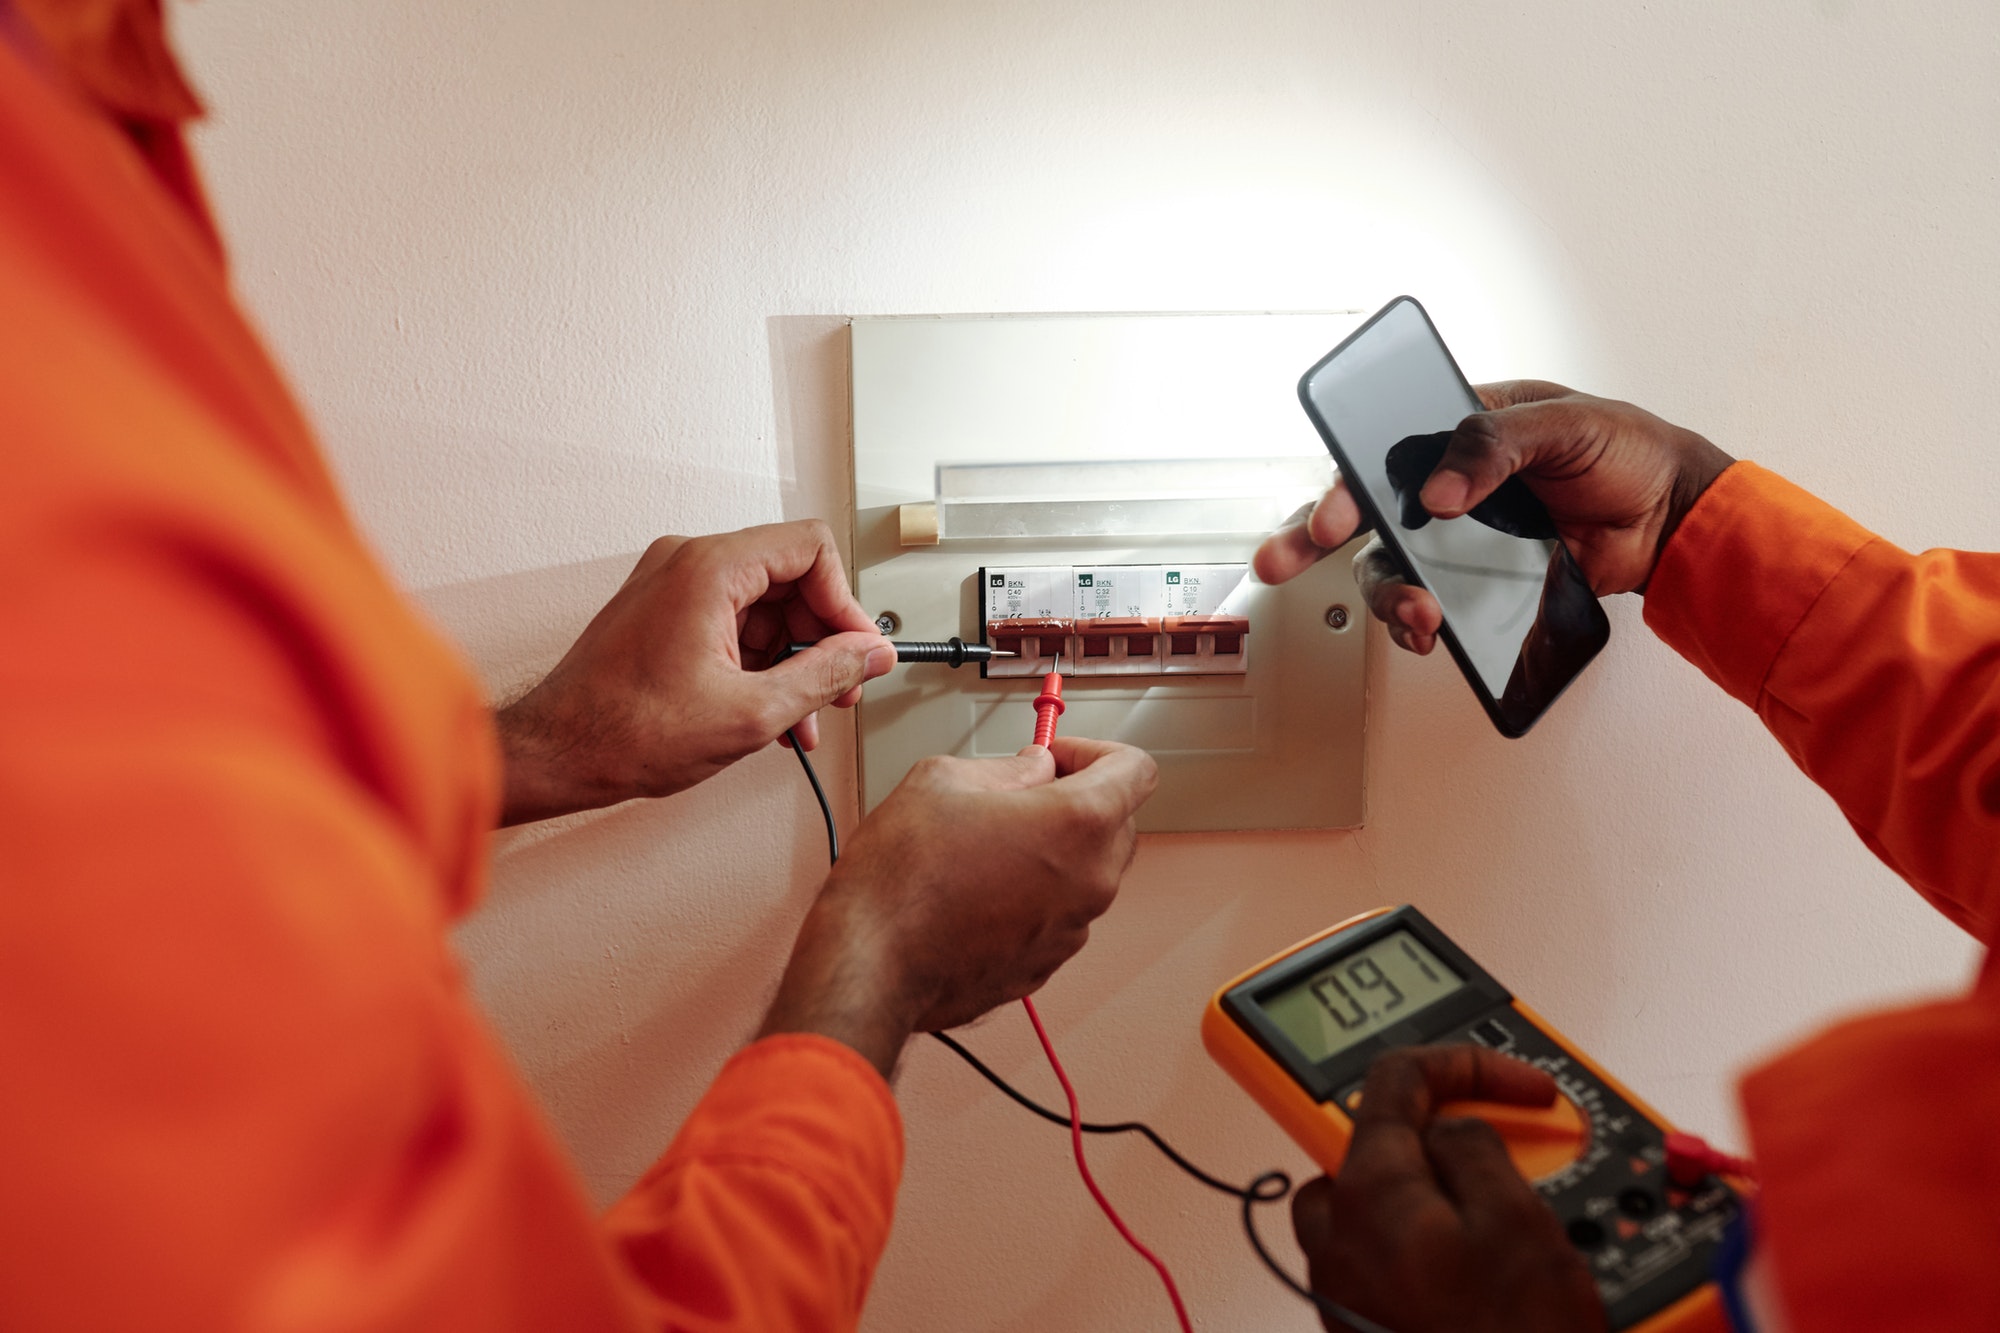
- After installation, the electrician will test the charger to ensure it is functioning correctly.
- This includes verifying that the charger is delivering the appropriate voltage and current, and that all safety features are operational.
Smart Features Setup:
- If your charger has smart features, the installer will help set up the Wi-Fi connectivity and demonstrate how to use the associated app.
- You will learn how to monitor charging, set schedules, and manage energy usage through the app.
4. Final Inspection and Approval
Inspection:
- A local building inspector may need to visit your property to inspect the installation and ensure it meets all local codes and safety standards.
- This step is crucial for obtaining final approval and ensuring the installation is compliant with regulations.
Approval:
- Once the inspection is complete and the installation is approved, you will receive documentation confirming that the installation meets all necessary codes.
5. Post-Installation
User Training:
- The installer will provide training on how to use the charger, including how to start and stop charging, and how to troubleshoot common issues.
- For commercial installations, training may also include how to manage multiple users and access control.
Maintenance Tips:
- You will receive guidelines on how to maintain the charger, including regular inspections and cleaning.
- Ensuring proper maintenance will help extend the life of the charger and ensure it operates safely and efficiently.
Customer Support:
- The installer or manufacturer will provide contact information for customer support in case you encounter any issues with the charger.
- Keep this information handy for future reference.
Conclusion
Understanding the EV charger installation process helps you prepare and ensures a smooth and efficient installation. From the initial assessment and planning to the final inspection and post-installation training, each step is crucial for a successful setup. By working with a licensed electrician and following local regulations, you can enjoy the benefits of a reliable and efficient EV charging solution for your home or business.


